My father has had a small vinery since I was 10, and from the very first moment, I enjoyed watching and listening to everything about it. Over the years, my passion for it grew so when I turned 23, I offered my father to help him with design and marketing (I’ve always had a thing for these) and he agreed to make a new label for our wine.
The whole process takes time (or was it just me and my beginner’s skills?), but I enjoyed every step of the way. You need to pay attention to details, this is the first thing your consumers will notice and perhaps even base their decision on buying your wine.
In order to make the whole experience easier for you (but equally enjoyable, I promise) I’ll give you some straightforward tips.
How to Design Your Label?
Step 1: Conceptualize Your Design
Start by defining the personality of your wine. Is it light and playful, or bold and complex? Your label’s design elements should reflect this. Something I learned from my dad is that you should consider the story behind your wine when designing your label.
For example, a wine crafted from a century-old vineyard might feature vintage-inspired elements, while a modern, experimental blend could opt for a sleek, contemporary look. Think about your target audience as well; what visuals and messages will resonate most with them?
From the very beginning, my father knew he wanted to participate in different wine competitions, so when I was designing our label I took that into consideration as well. I knew that the label must represent us and our story in order to make our wine as authentic as possible.
Step 2: Choose Your Tools
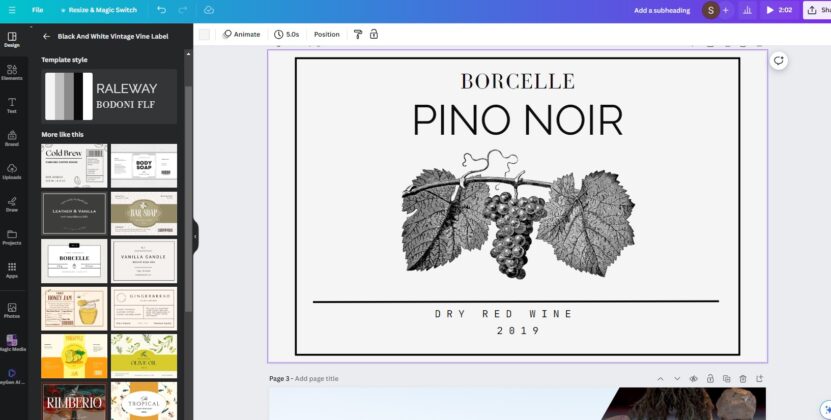
Select a design software that suits your skill level and creativity needs. You can use simple graphic design tools like Canva or more advanced software like Adobe Illustrator.
I suggest you experiment with different software to find the one that feels most comfortable and meets your design aspirations. Personally, Canva worked just fine for me.
Step 3: Layout and Composition
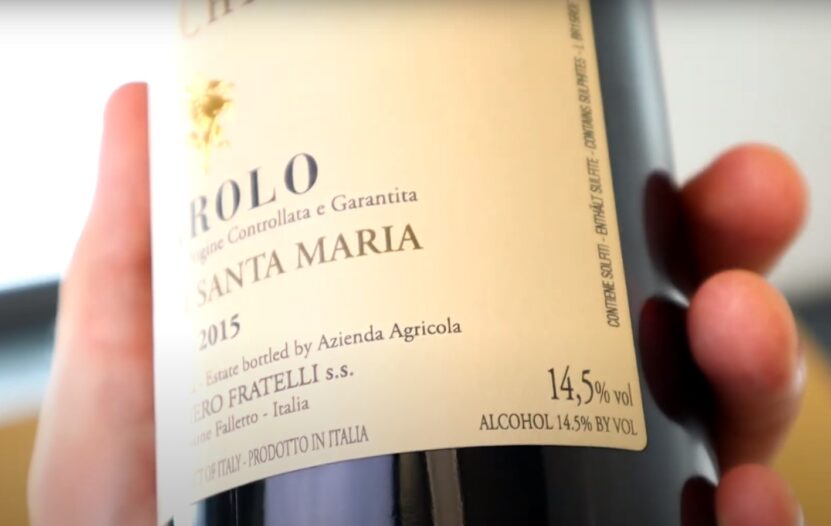
Keep your design balanced. Include essential information like the wine name, type, and bottling details without overcrowding the label. Consider the hierarchy of your information; the wine’s name should be the most prominent, followed by the type (e.g., Chardonnay, Merlot) and then the smaller details like alcohol content and origin.
Utilizing white space effectively can enhance your label’s readability and visual appeal. For example, a minimalist design with ample white space around the central logo or wine name can draw the eye effectively to the most important information.
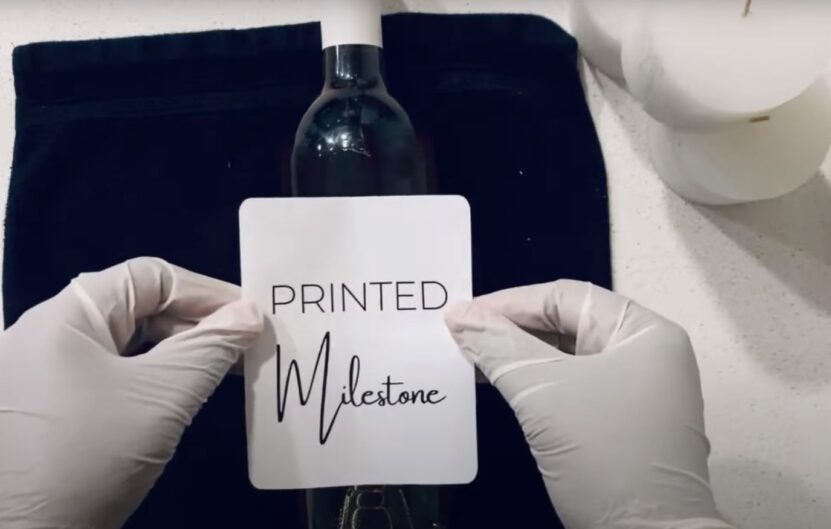
Step 4: Printing Your Labels
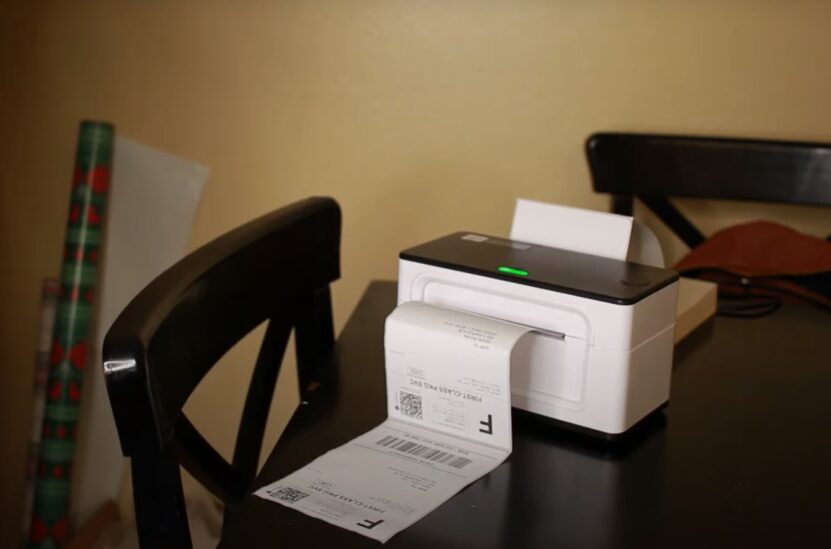
Test print on regular paper to check colors and alignment. Pay attention to the print settings on your printer; make sure you’ve selected the highest-quality print option. If your design includes dark colors or high saturation, consider how these might appear on the label paper you’ve chosen, as some papers may not render colors as vividly as others.
Once satisfied, print on your chosen label paper.
Pay Attention to Design Elements
- The font you choose communicates the tone of your wine. Elegant scripts for classic wines or bold, modern fonts for innovative blends.
- Images, whether illustrations or photos, should complement your wine’s story and appeal visually.
- Colors evoke emotions and set expectations about the wine’s taste and quality.
Applying Your Labels
How to Prepare the Surface?
Start by ensuring your wine bottles are clean and dry. Any dirt, oil, or moisture can prevent labels from sticking correctly. To remove any existing labels and residue, soak the bottles in warm, soapy water for about 30 minutes. This will loosen the glue, allowing you to peel off the old labels easily.
For stubborn residue, gently scrub the area with a sponge or use an adhesive remover for a smooth surface. Thoroughly rinse and dry the bottles before applying new labels.
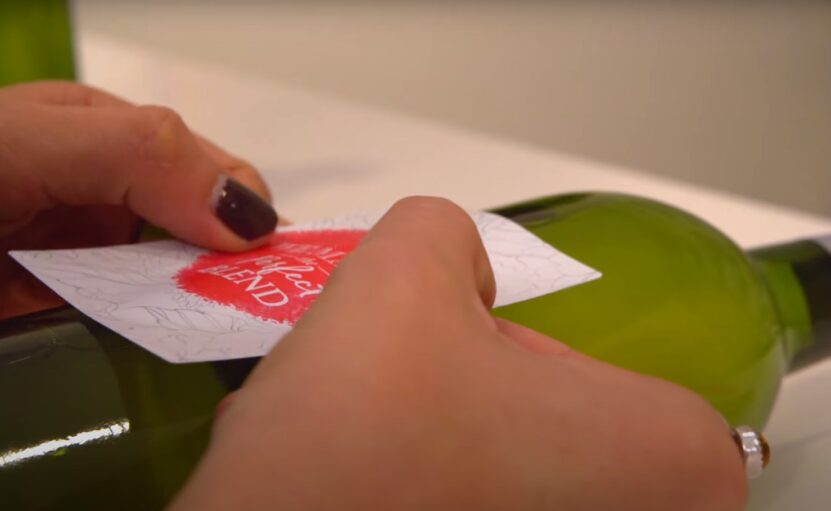
Cutting and Applying
Accuracy and precision are key when cutting and applying your labels. Cut your labels carefully, using a sharp pair of scissors or a craft knife and a ruler to ensure straight edges and consistent sizes.
| Label Type | Application Method |
| Adhesive Labels | 1. Carefully peel the backing off. 2. Align the label with the bottle. 3. Press from the center outward to remove air bubbles. |
| Non-adhesive Labels | 1. Apply a thin layer of milk to the back of the label. 2. Stick the label onto the surface. 3. Dries clear and moisture-resistant. |
You Might Want to Try This…
Personalize Your Labels for Events
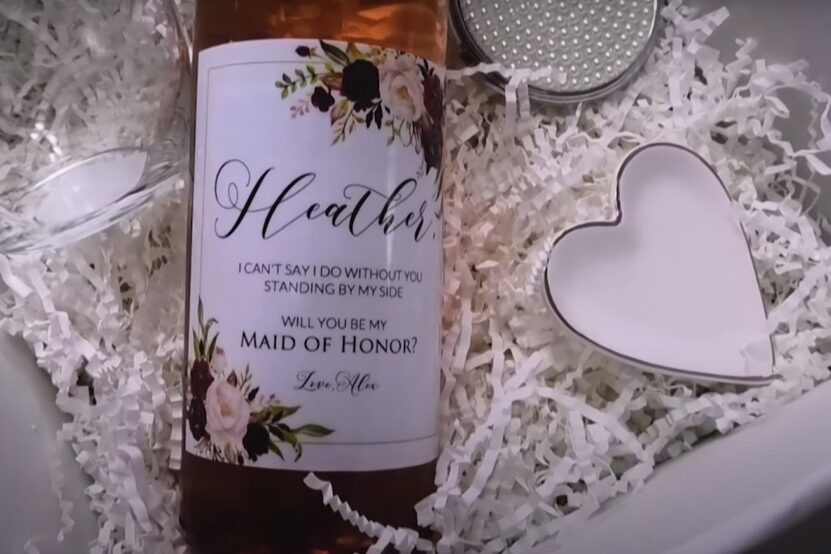
Custom labels can transform an ordinary bottle of wine into a thoughtful, personalized gift that commemorates special events. For weddings, include the names of the couple and the wedding date. For anniversaries, consider reflecting on the milestone with a vintage design.
We also made a limited edition for Valentine’s Day (yes, there were red hearts included) and it was a real hit. Whatever the occasion, feel free to experiment with different fonts and colors to match the theme of the occasion, making each bottle a unique memento.
Use High-Quality Images
The quality of images on your labels can significantly impact the overall look. Ensure any graphics or photos are high resolutions, ideally, 300 dpi (dots per inch) or higher, to avoid a pixelated or blurry printout. This will help maintain the clarity and detail of your design, making your labels look professional.
Consider hiring a designer or using high-quality stock images if you’re not confident in your graphic design skills.
Experiment with Textures
Textured paper can add a distinctive touch to your wine labels, giving them a luxurious feel and visually enhancing the bottle. Options include linen, felt, or embossed papers (my personal favorite, we used it for some wedding gift bottles and it looked perfect).
Keep in mind that textured papers might require different adhesive techniques, so test your method before applying it to all your bottles.
Incorporate Unique Materials
Adding unique materials such as metal leaf accents or embossing can elevate the appearance of your wine labels. Metal leaf, available in gold, silver, and copper, can be applied to logos or special text to catch the light and add a premium touch.
Embossing, which raises certain areas of your label, provides a 3D effect that can enhance the visual and tactile appeal. These special touches require more time and effort but they will significantly impact your label’s luxury and uniqueness.
Common Issues
Ink Smudging
To avoid ink smudging, let your printed labels dry completely before handling them. This might take a few hours, depending on the ink and paper type. Use waterproof label paper to prevent smudging, especially if your wine bottles will be chilled or stored in humid conditions.
Consider using a spray fixative for extra protection on non-waterproof labels.
Misaligned Labels
For perfectly aligned labels, use a ruler and lightly mark your bottles with a pencil to serve as guides before application. This can help you ensure that each label is straight and centered.
In the beginning, I had trouble with using a label applicator, especially for larger batches, to maintain consistency and alignment. But practice makes perfect, so if I could learn it, you will too.
Bubbles and Wrinkles
To prevent bubbles and wrinkles, apply labels slowly and carefully. Start by aligning one edge of the label with the bottle and gradually press the label down from one side to the other, smoothing it out as you go.
Use a soft, clean cloth or a rubber squeegee to gently press out any air pockets or bubbles, moving from the center of the label towards the edges. This technique helped me achieve a smooth, professional-looking application.
FAQs
How can I ensure the colors on my labels don’t fade over time?
Use UV-resistant inks if available for your printer model, and consider applying a UV-resistant clear coat spray over your printed labels. Additionally, store your wine in a cool, dark place to minimize exposure to light and heat, which accelerates fading.
What’s the best strategy for aligning labels perfectly on the bottle?
Use a bottle label applicator tool available from craft or winemaking supply stores. If doing it manually, measure and mark a straight line on the bottle with a non-permanent marker as a guide.
Can I handwrite on my DIY wine labels?
Absolutely! Handwriting on your wine labels can add a personal touch. If you plan to handwrite directly on your labels, choose a paper that complements your ink to prevent smudging or bleeding. Test your writing instrument on a sample piece first to ensure compatibility and the look you desire.
How can I make my wine labels look professional without a high-end printer?
Focus on clean, simple designs and high-quality images within the capabilities of your printer. Utilize online printing services that offer professional-grade printing on a variety of label materials. These services often provide a vast improvement in quality at a reasonable price, giving your DIY labels a polished look.
All in All…
In the world of wine, labels are your first impression and a lasting memory. Through the design process, you connect with your wine on a deeper level, crafting a visual and tactile experience that complements its taste.